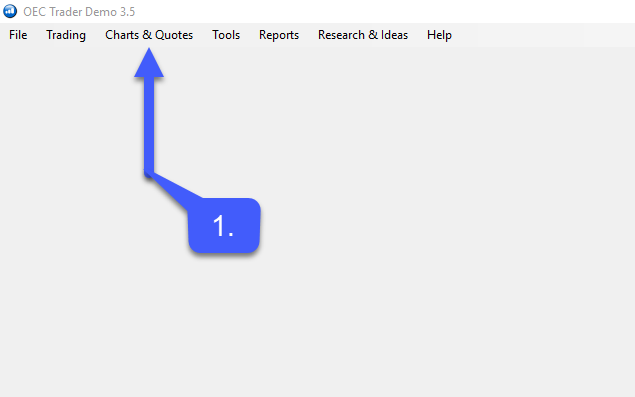
1. Navigate to the Charts & Quotes tab located at the top of the platform window.
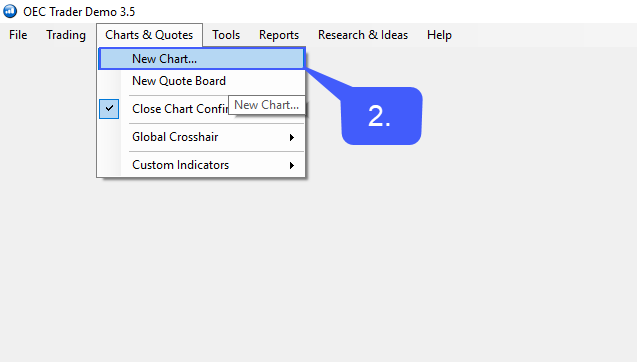
2. Select the New Chart… option
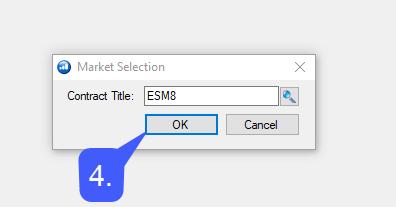
3. Manually enter the Contract Title in the search box or left click the magnifying glass option to search through available contracts.
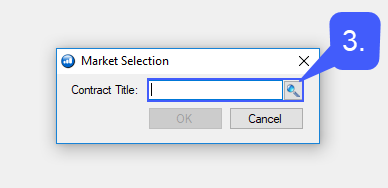
4. Once the user has selected a contract left click the OK button.
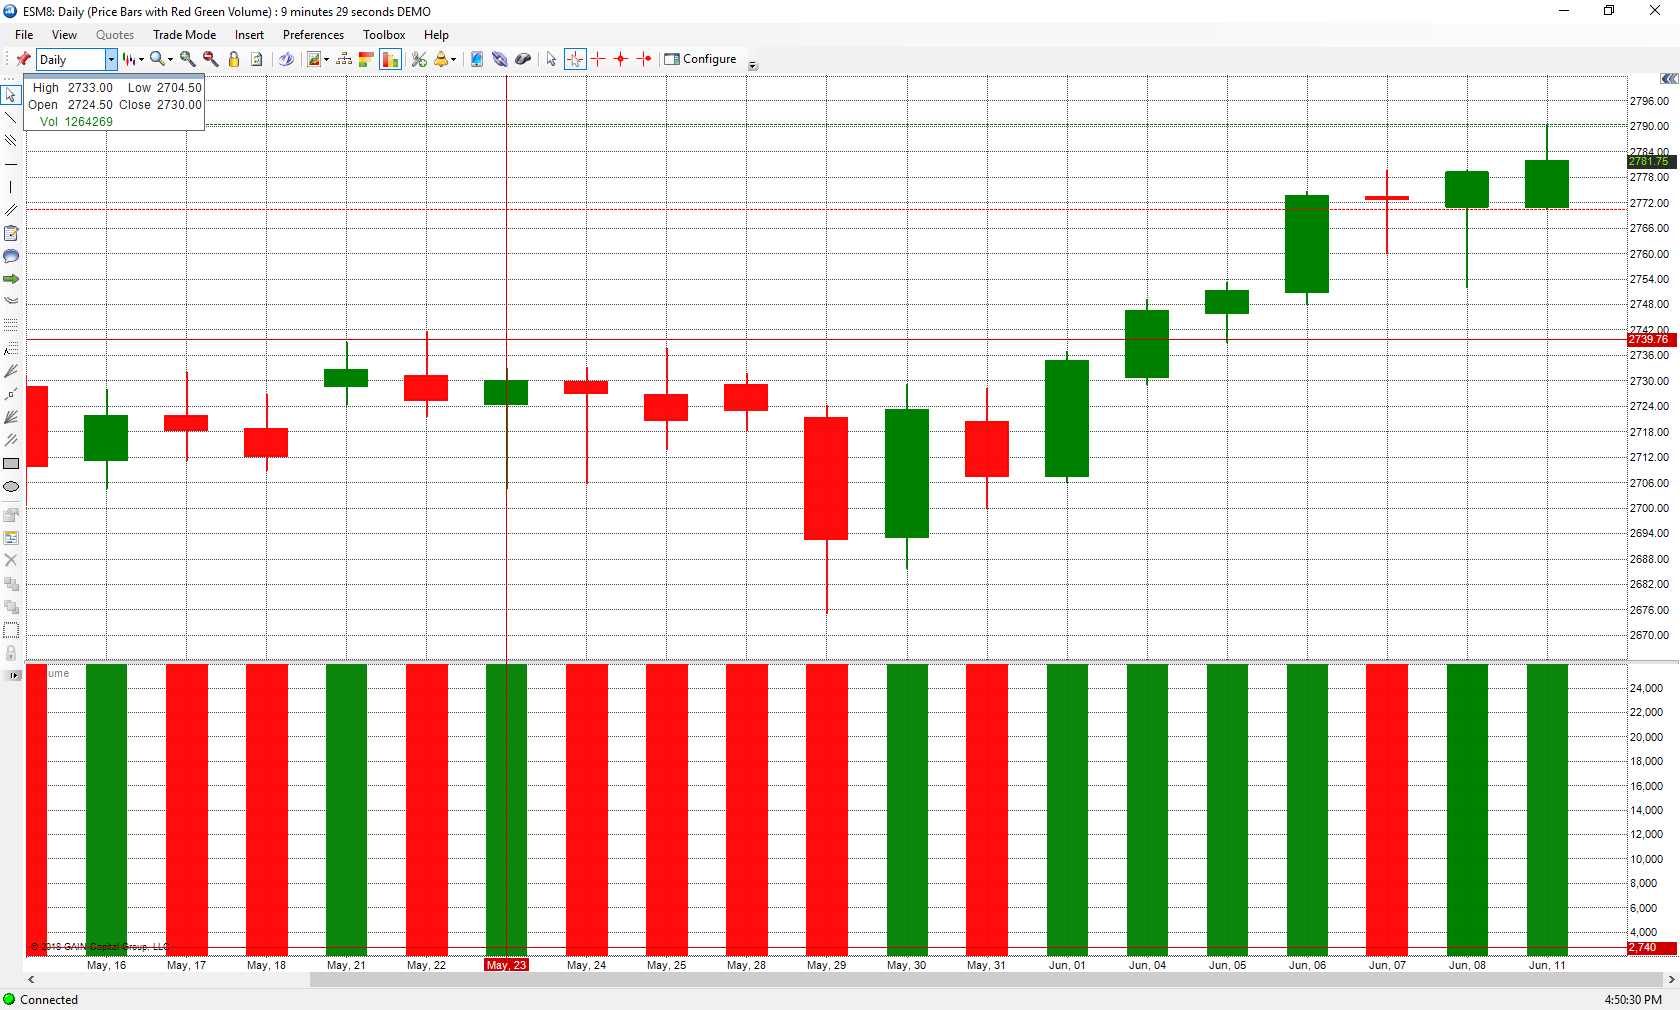
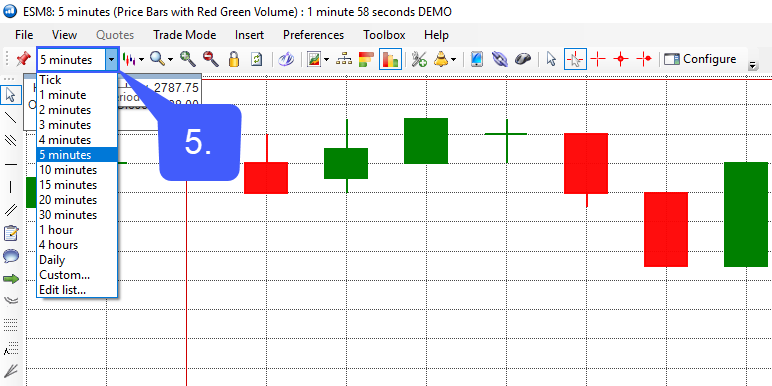
Now that a chart is open, traders can specify the time interval they wish to display for their chart
Time intervals can be displayed in tick, 1 minute, 2 minute, 5 minute, 15 minute, 20 minute, 1 hour, 4 hours, daily, and much more time intervals. Users can also create a custom time interval.
5. To change the time interval of a chart simply left click the Time Interval dropdown box and specify the interval of your choice.
In our example below we have selected a Daily time interval.