To establish a connection with their data feed, users will first need to create an account on https://www.tradenavigator.com/.
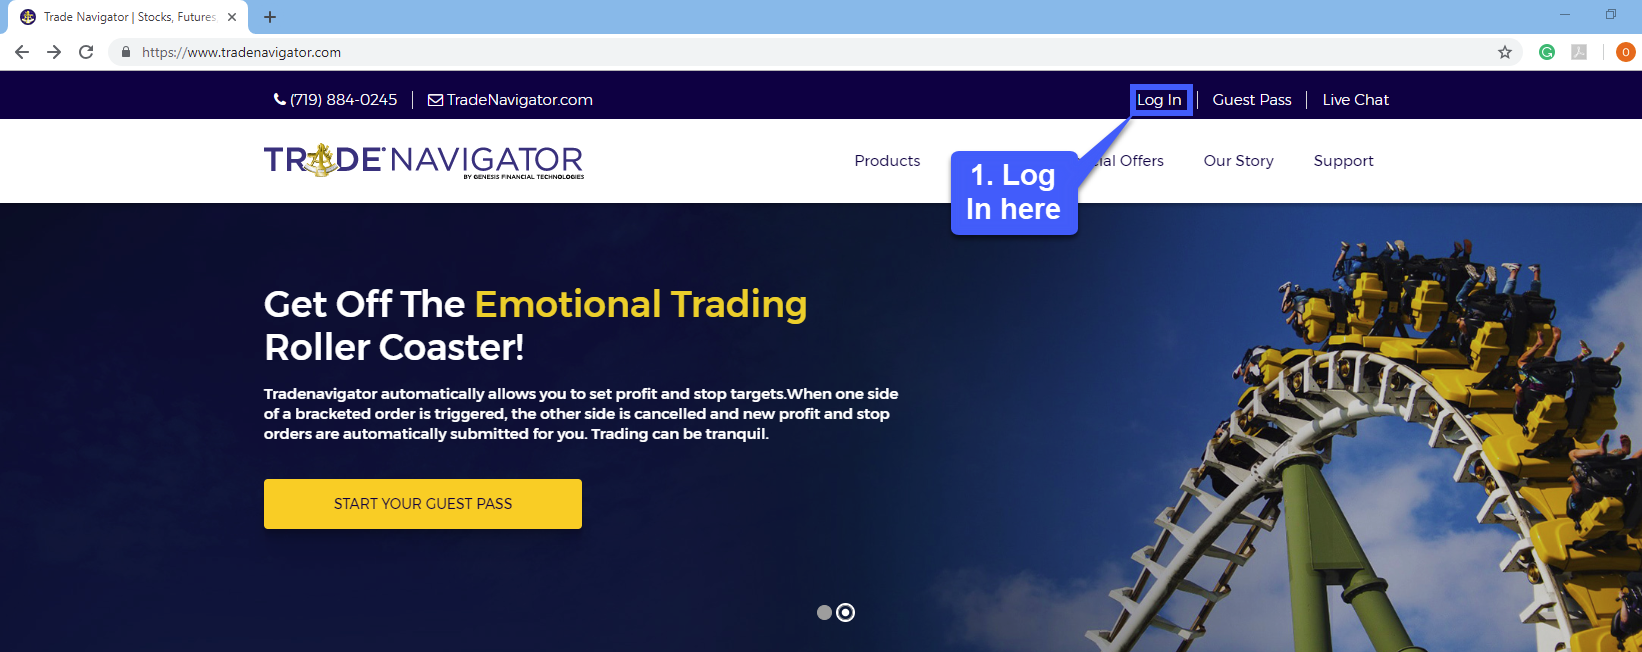
1. Log into your account on https://www.tradenavigator.com/ using either your email address and password you registered with on their website or the customer ID you were provided with.
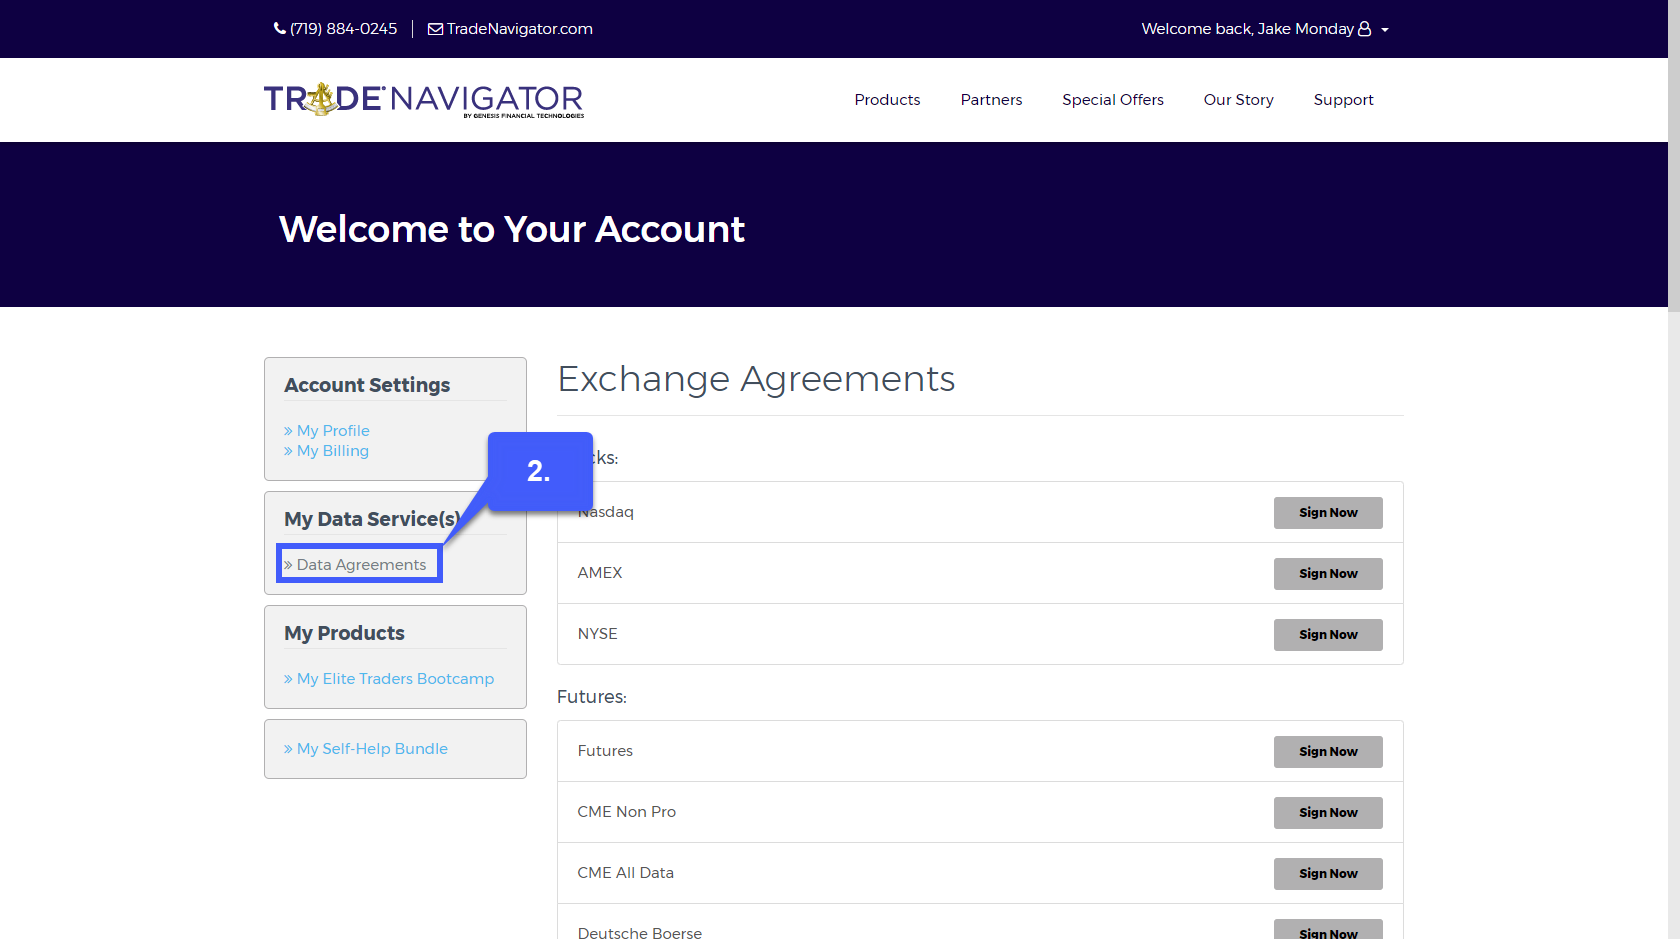
2. Once in your account, select the data agreement option under My Data Service(s).
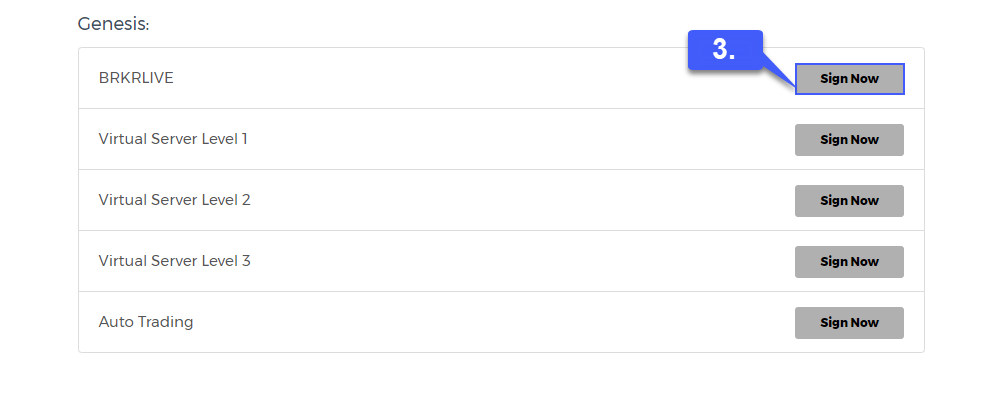
3. Scroll to the bottom of the page to the Genesis category and select the Sign Now BRKRLIVE option.
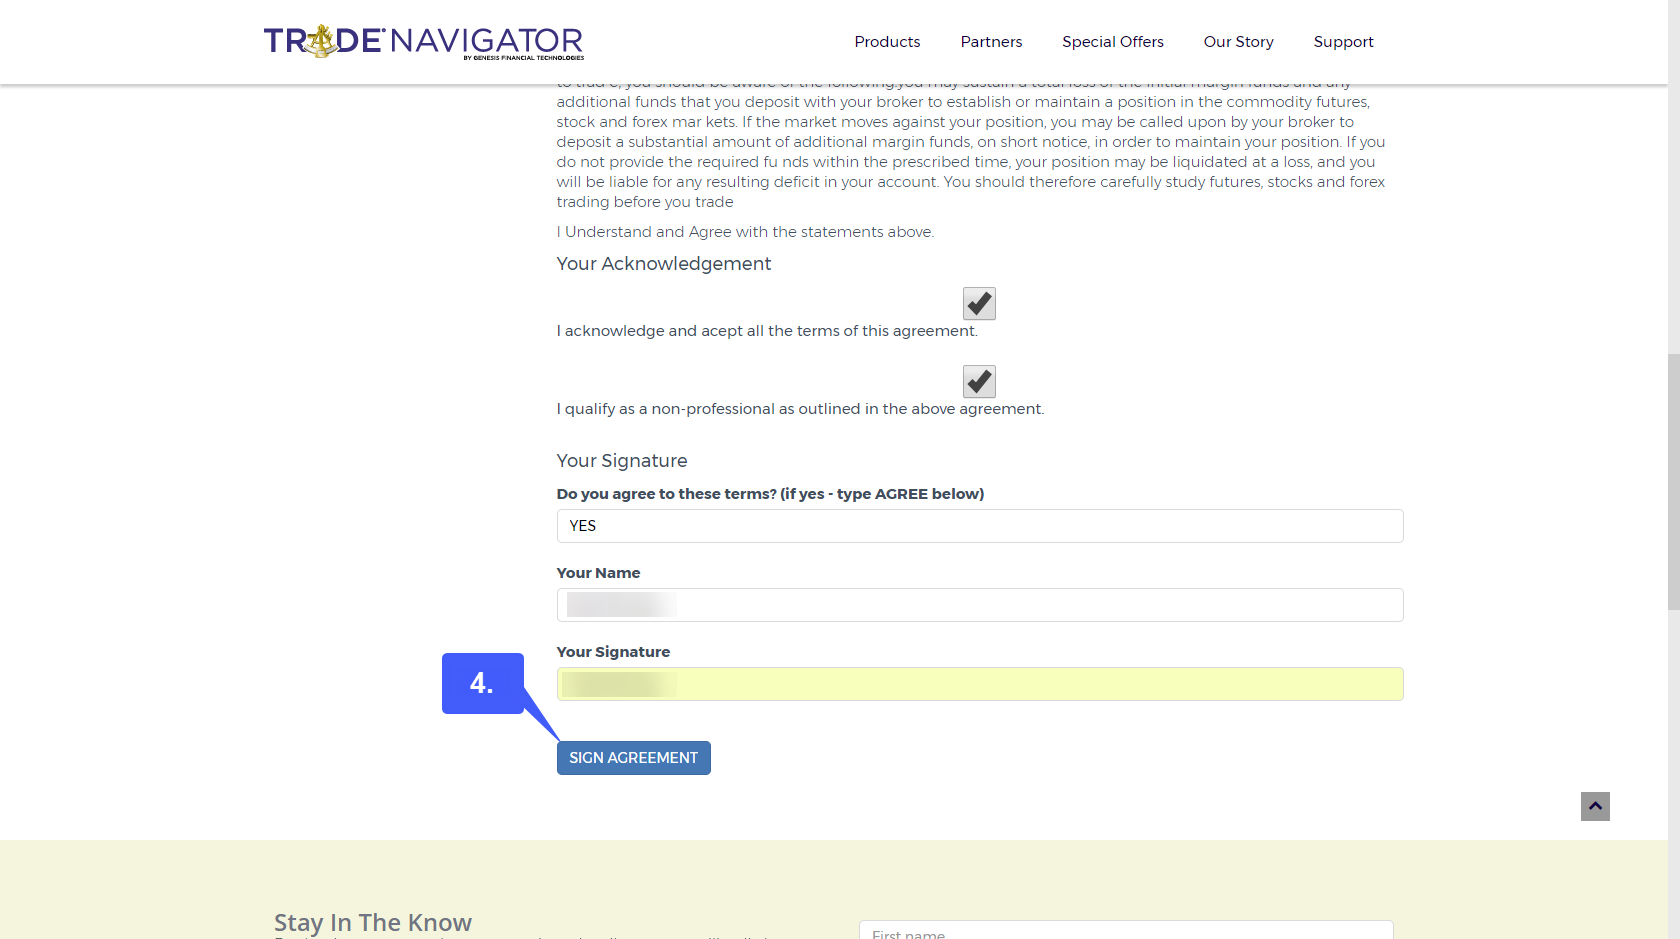
4. Read through the terms and agreements on the BRKRLIVE form and fill out the necessary fields once you reach the bottom of the form. After you have acknowledged both agreements and filled out the required fields you may click the Sign Agreement button.
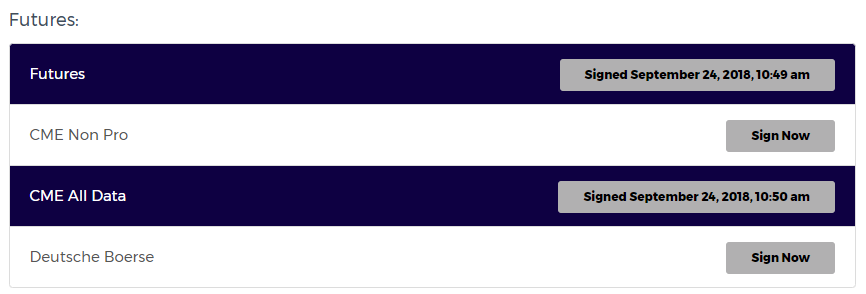
5. Users will also need to sign the Futures form and any markets that they plan on trading. Follow the same process as above, but instead of selecting the BRKRLIVE option users will first need to select Futures and then either CME Non Pro or CME All Data depending on the markets they intend to trade.
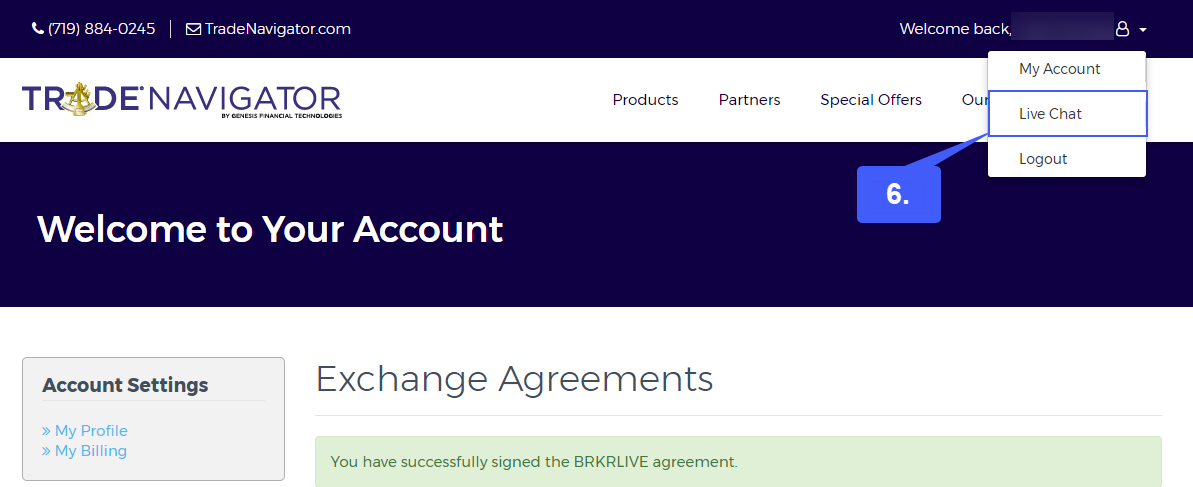
6. Now that you have signed the broker live agreement form, you will need to contact the sales or support team from Trade Navigator to enable the broker data feed connection to your account. We suggest contacting their support team through the Live Chat feature on the Trade Navigator website. This can be located by left clicking your account in the top right corner of the window and then selecting the Live Chat option. Users also have the option of calling Trade Navigator at 719-884-0245.
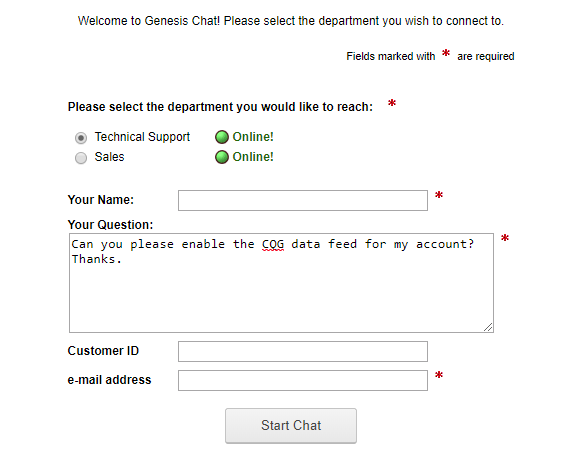
7. Users will now be required to fill out the following form to chat with the customer support representative. Simply select one of the two departments, your name, the reason you are contacting them, your customer ID, and finally the email address you registered with.
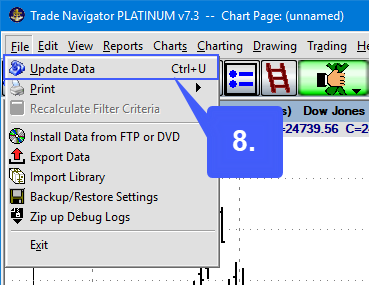
8. After speaking with a Trade Navigator customer support representative and having them activate a live data feed, the user will need to reopen the Trade Navigator platform. Once on the platform the user should navigate to File > Update Data
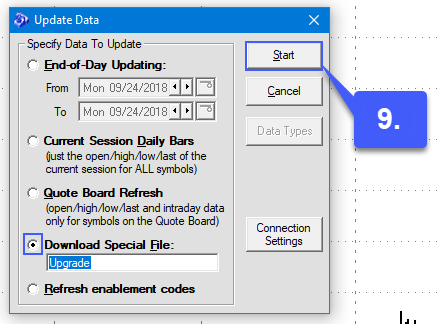
9. Select Download Special File and then click Start. Follow the prompts to run the upgrade.
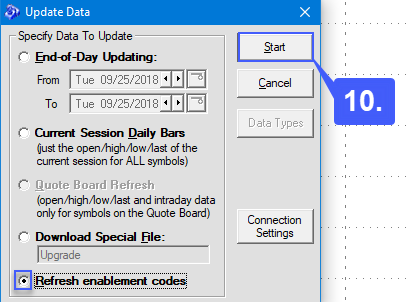
10. Once the special file has downloaded, head back to the Update Data window and now select the Refresh enablement codes option. Once selected, press Start.
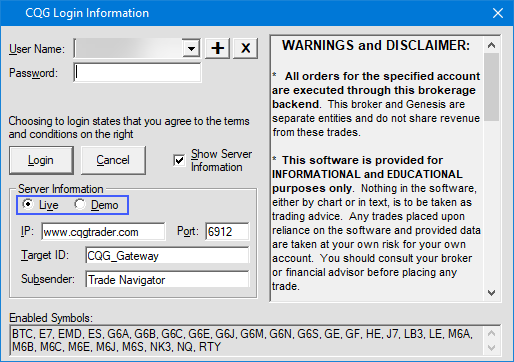
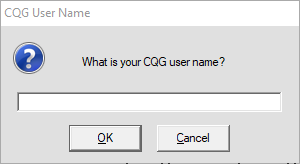
11. If not prompted to enter in your data feed username, restart the platform at this time. Once your platform has been restarted, you will automatically be prompted to enter your data feed username as shown below. In our case this is CQG, but Rithmic and OEC data feeds are also available.
12. Once your username is entered, enter in your password on the next screen. Once completed, left click the Login button.
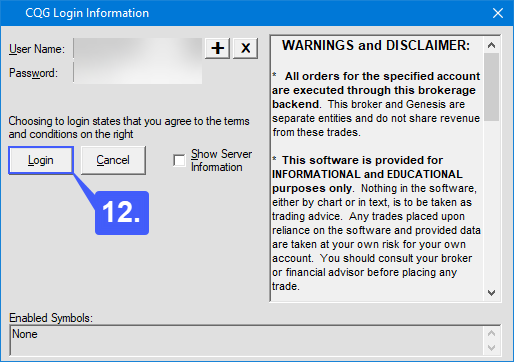
After left clicking the Login button you will be successfully connected to the data feed of your choice. You can always change these credentials by navigating to Trade > data feed name* > data feed name* connection information
* In our example we have used the CQG data feed. The data feed shown here will adjust according to the data feed you have provided to the Trade Navigator customer support team.
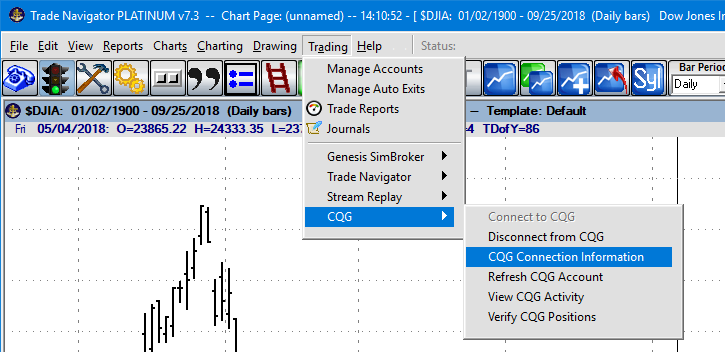
If needed, the user can also revert their data feedback to demo servers as shown below under the Server information field.