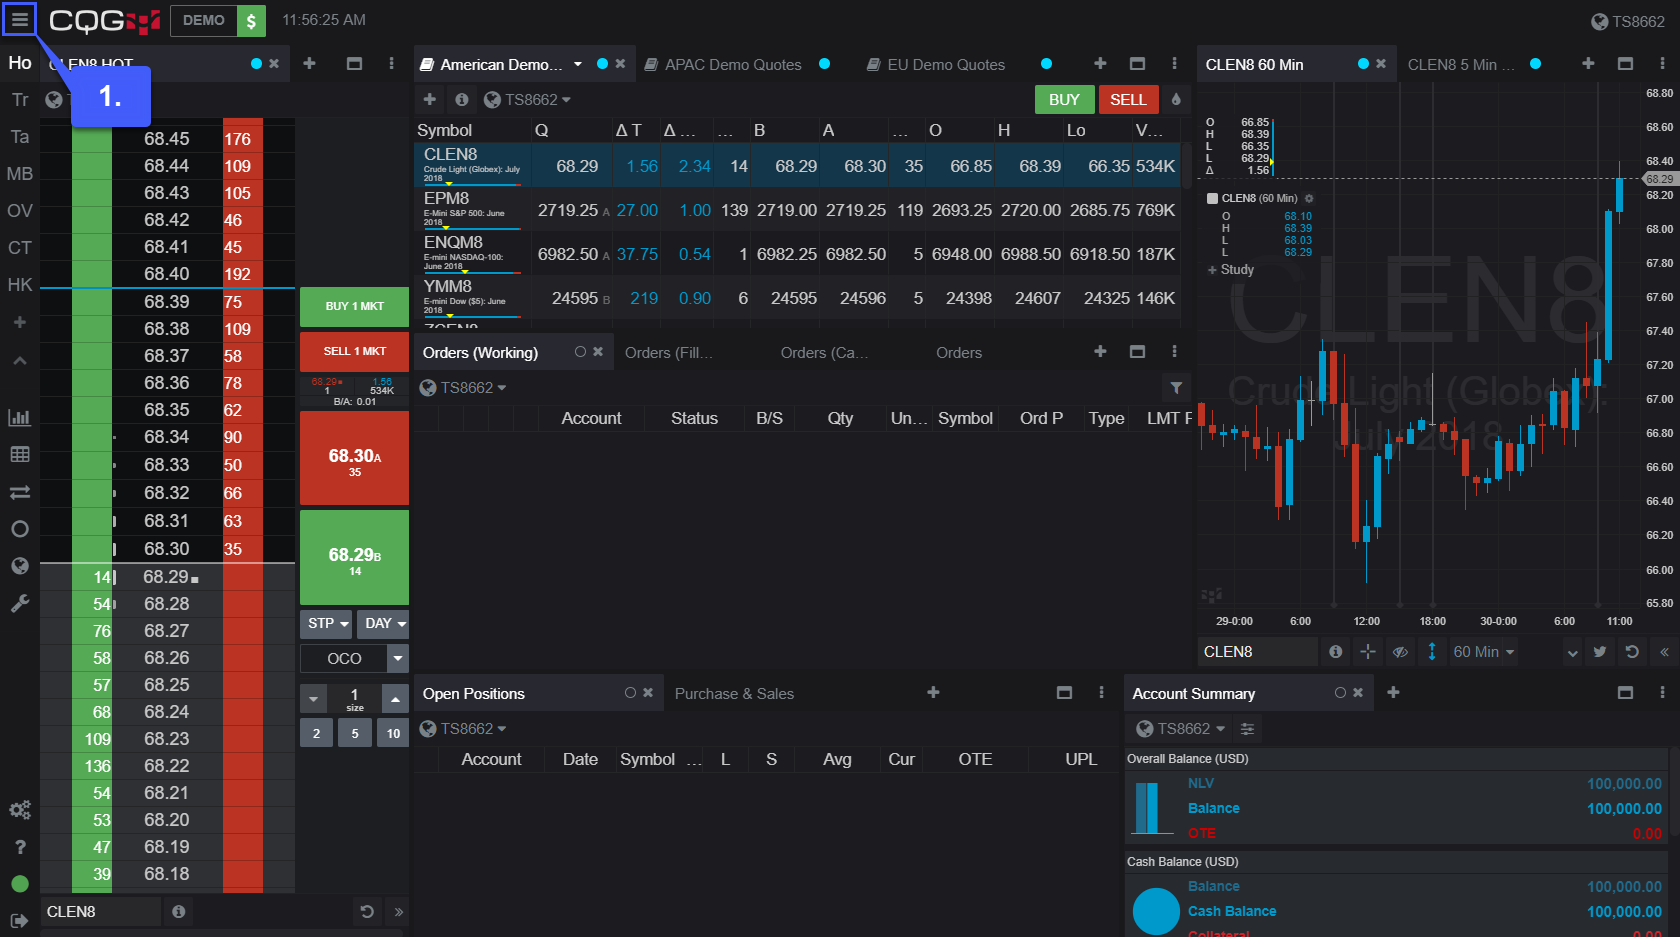
1. Navigate to the top left of the platform window and click on the button with 3 horizontal lines, the expand sidebar button.
2. Once expanded, scroll down to the button labeled + Add Page and left click
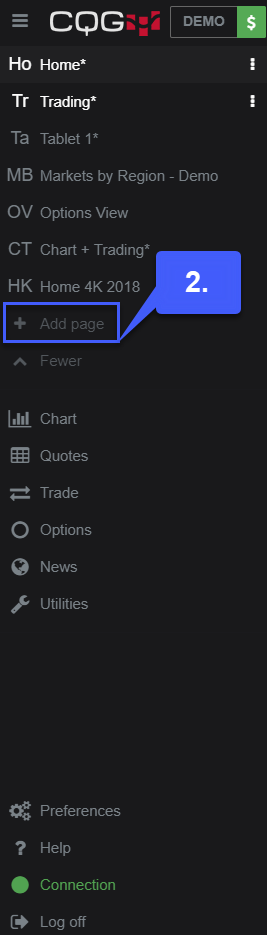
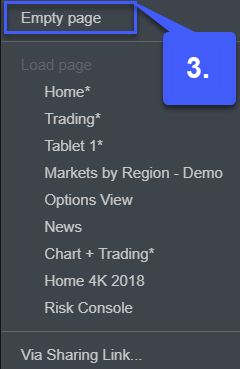
After clicking on the + Add Page button, users have the option to create an empty workspace or select one of the following default pages created by CQG.
3. To create a new, blank workspace click on the empty page option.
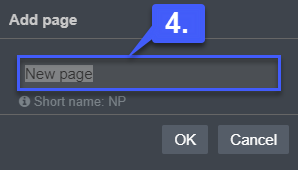
4. After clicking on the empty page option, enter a phrase to name your new workspace.
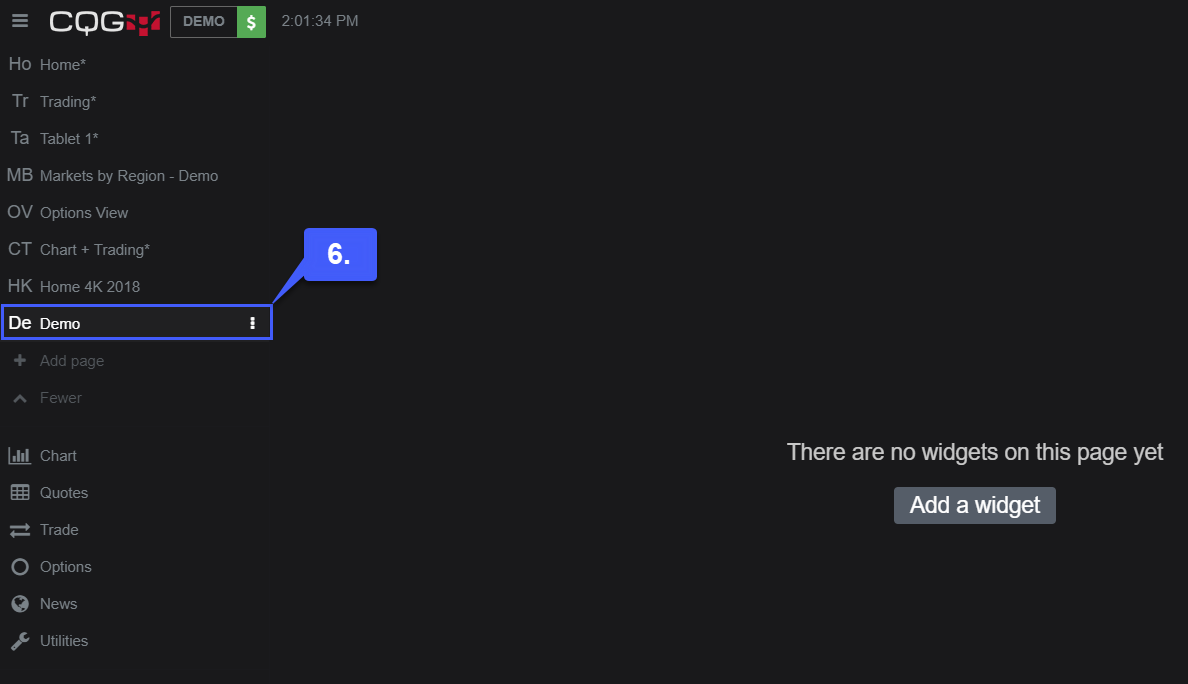
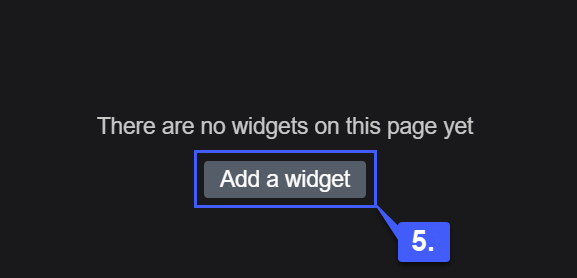
5. Once named, users can now add widgets on their new page to their liking by clicking on the Add a Widget button.
6. If users wish to re-access their newly created page at any point in time, simply navigate back to the expanded sidebar and the new page the user created will populate above the + Add page button. (Ours is named Demo)